「ubuntu server」のインストールでできないや進まないといった事はないでしょうか?
今回はそんなあなたの為に「ubuntu server」のインストール手順を図を用いて教えます。
筆者はWindowsサーバーやLinuxサーバーの運用構築を11年間以上おこなってきました。その経験を元に知識を公開していきます!
この記事を読みながらであれば確実に「ubuntu server」のインストールが出来るようになります。
ちなみに「ubuntu server」のダウンロードは公式サイトから可能です。
ubuntu serverのインストール手順

電源をいれるとブートローダーが起動するので「Try or Install Ubuntu Server」を選択しエンターをしましょう!
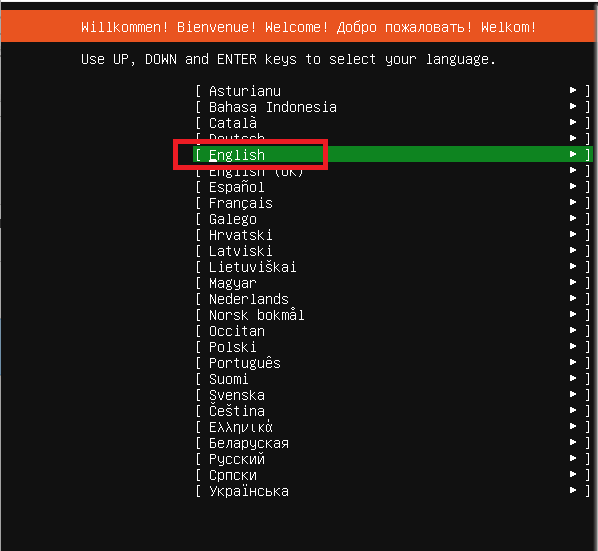
1.言語を選択します
日本語がない為ここでは「English」を選択します。
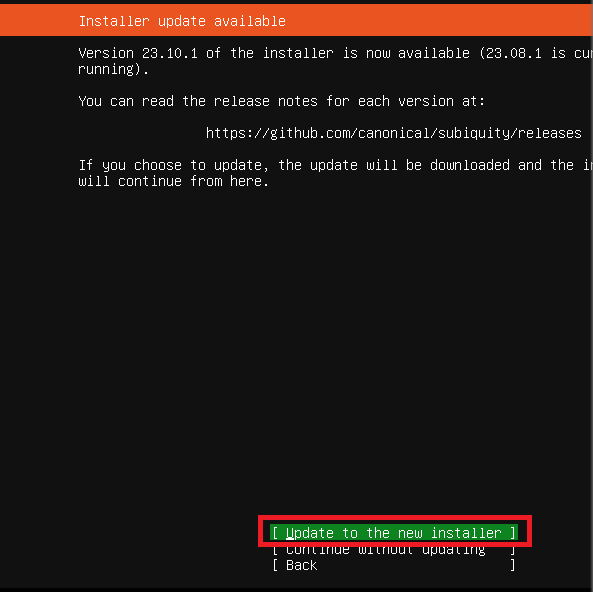
「Update to the new installer」を選択してエンターします。
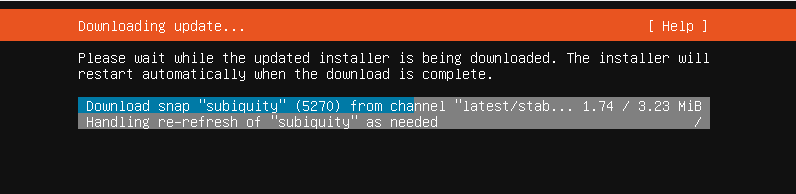
ダウンロードするまで待ちます。
2.キーボードのレイアウトを選択します
次にキーボードのレイアウトを選択します。日本のキーボードにしたいので「Japanese」を選択します。
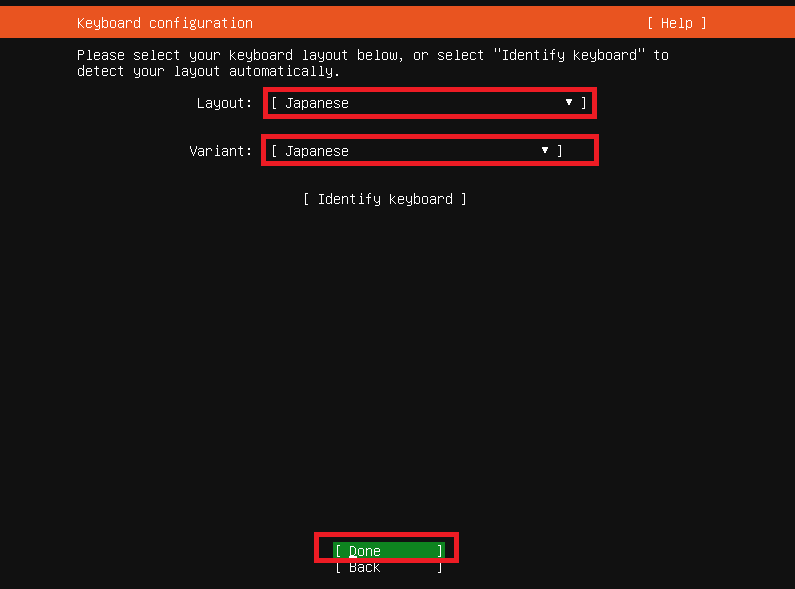
「Done」を選択してエンターします。
3.サーバーのタイプを選択します。
次にサーバーのタイプを選択します。
最小限のサーバーでも良いですが、ここでは通常のubuntu serverを選択したいです。
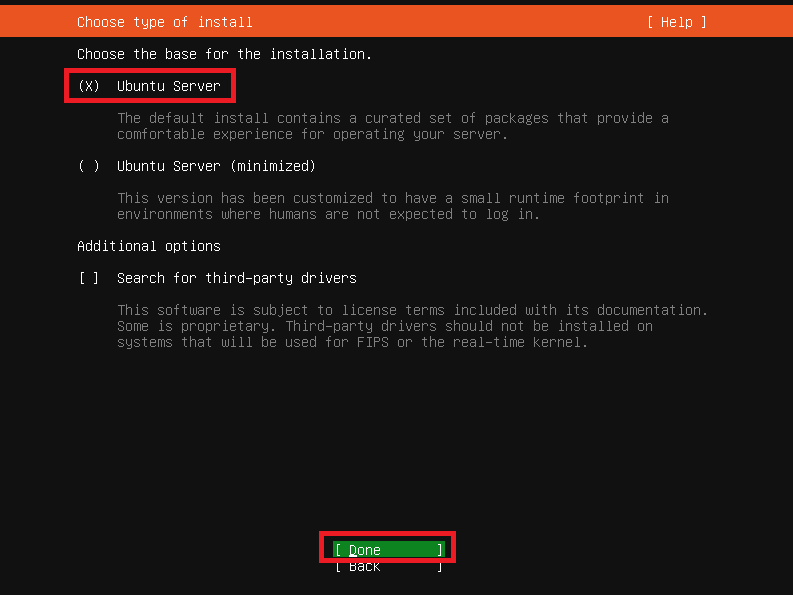
「Ubuntu server」にXがついている事を確認して「Done」を選択してエンターします。
4.ネットワークの設定を行います
次にネットワークの設定を行います。
固定IPを設定しても良いですが、ここではDHCPでIPアドレスを取得することにします。
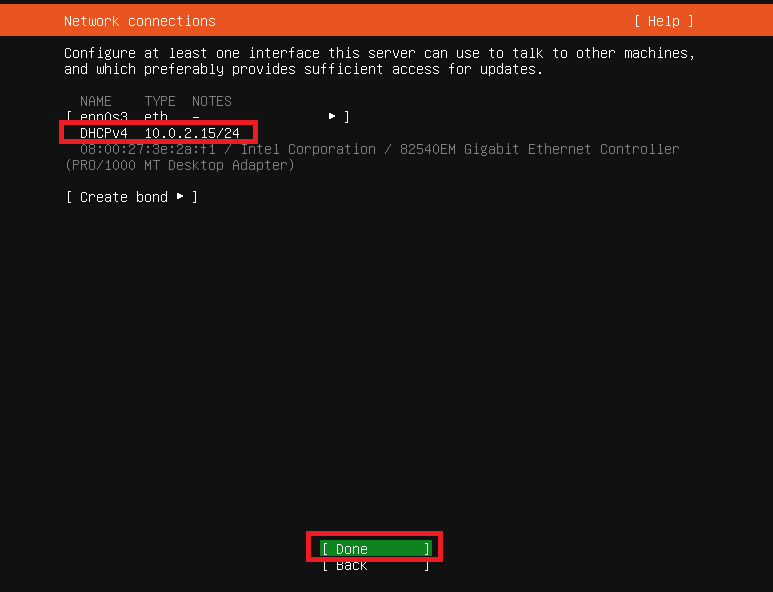
もう既にDHCPサーバーがありIPが割り当てられているのであれば、IPが取得できていることを確認して「Done」を選択後エンターします。
プロキシサーバーの設定を行います。
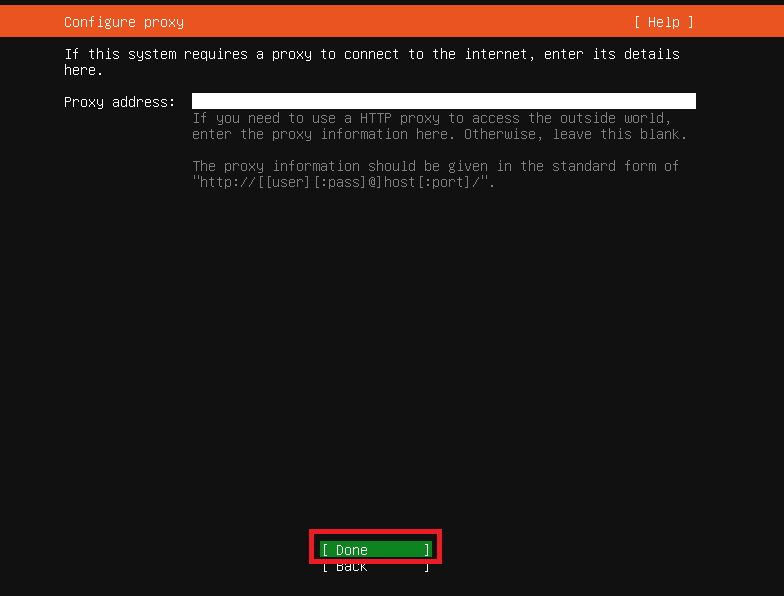
今回はプロキシサーバー使用しないので、何も設定せずに「Done」を選択してエンターします。
ubuntuのアーカイブミラーを設定します。
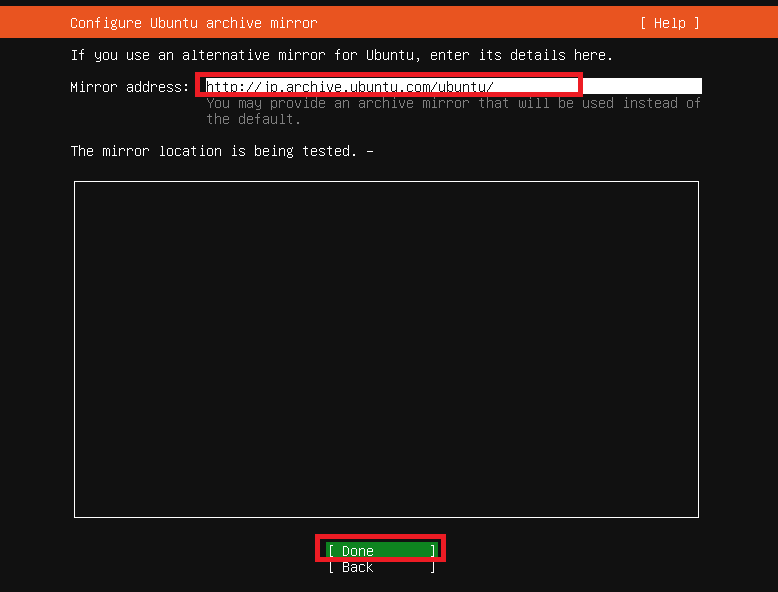
近くのサーバーのURLが自動ではいってくれますので、URLを確認して「Done」をエンターします。
5.ストレージの設定を行います
次にストレージの設定を行います。
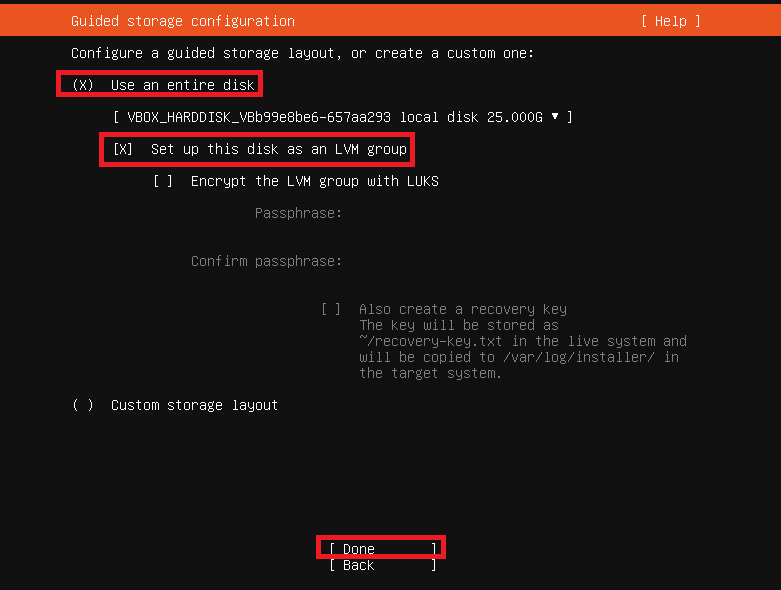
「Use an entire disk」と「Set up this disk as an LVM group」にXマークがついていることを確認して「Done」を選択後エンターします。
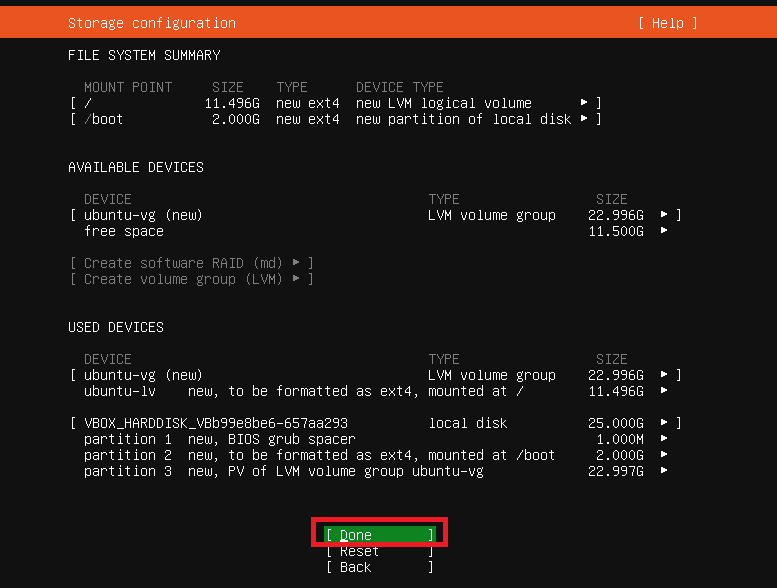
サイズなどを確認して「Done」をエンターします。
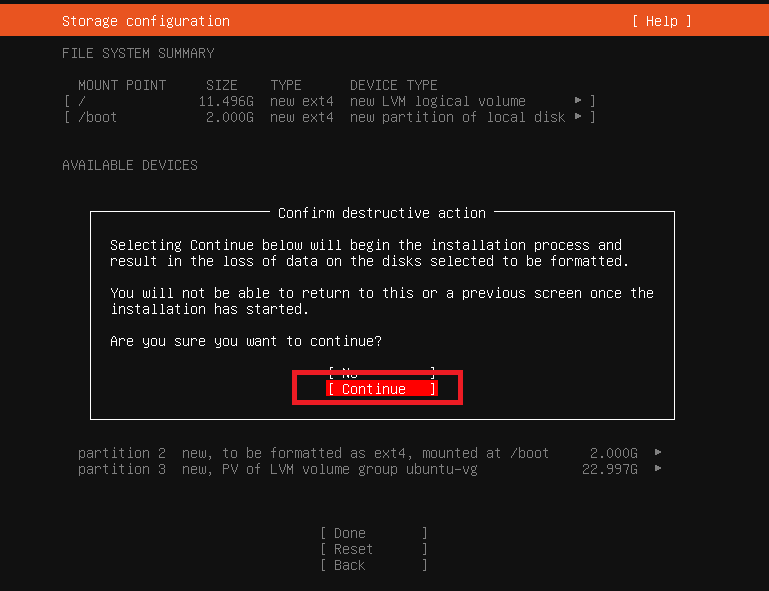
問題なければ「Continue」を選択してエンターします。
6.プロファイルを設定します
次にubuntu serverの名前や最初のユーザー名とパスワードを設定します。
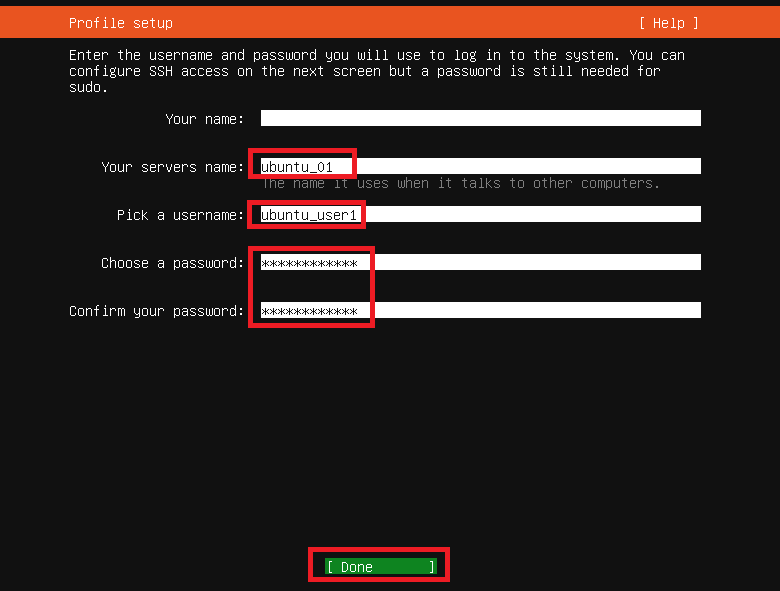
- 「Your servers name」にサーバー名
- 「Pick a username」にユーザー名
- 「Choose a password」にパスワード
- 「confirm your password」にもう一度パスワード
上記4マスを入力して「Done」を選択してエンターします。
7.ubuntu proにするかどうかを選択します
次にubuntu proにアップグレードするか聞かれます。
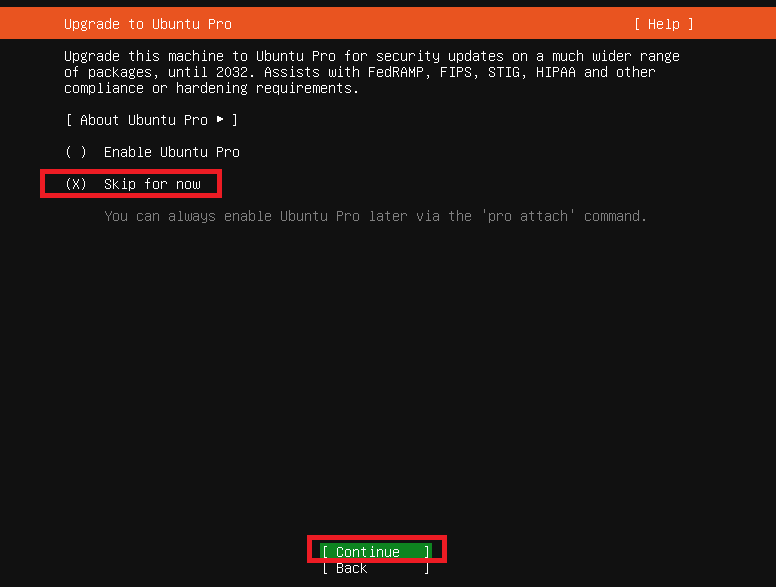
ここではしないので「Skip for now」にXが付いている事を確認して「Continue」を選択してエンターします。
8.SSHのセットアップを行います
次にSSHのセットアップを行います。
インストールした後にSSH接続を行いたいのでSSHをインストールします。鍵は作成するのでインポートはしません。
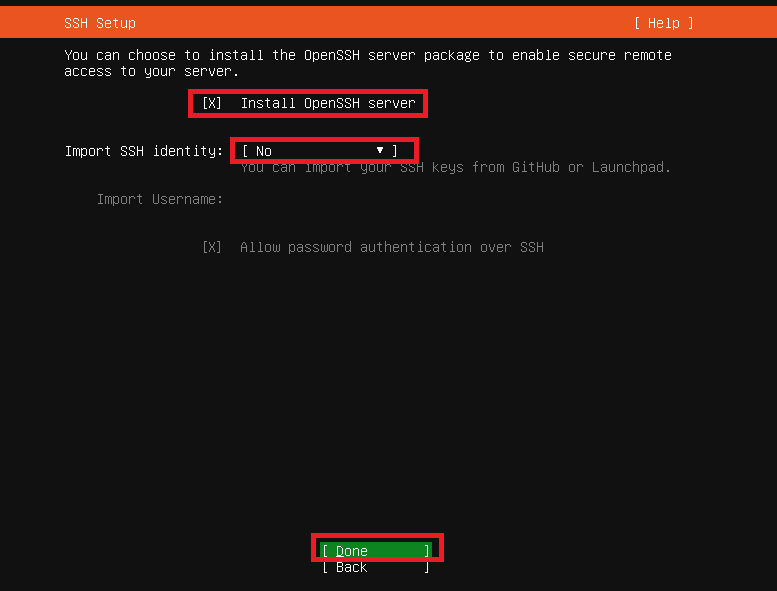
「Install OpenSSH server」にXマークがついている事を確認します。
「Import SSH identity」を「No」のままにして「Done」をエンターします。
9.追加パッケージをインストールするか選択します
次に追加パッケージをインストールするか聞かれます。欲しいパッケージにXを入れますがここでは何もせず「Done」をエンターします。
パッケージは後で個別にインストールした方が良いです。
10.インストールして再起動します
インストールしたあとに再起動するか聞かれます。
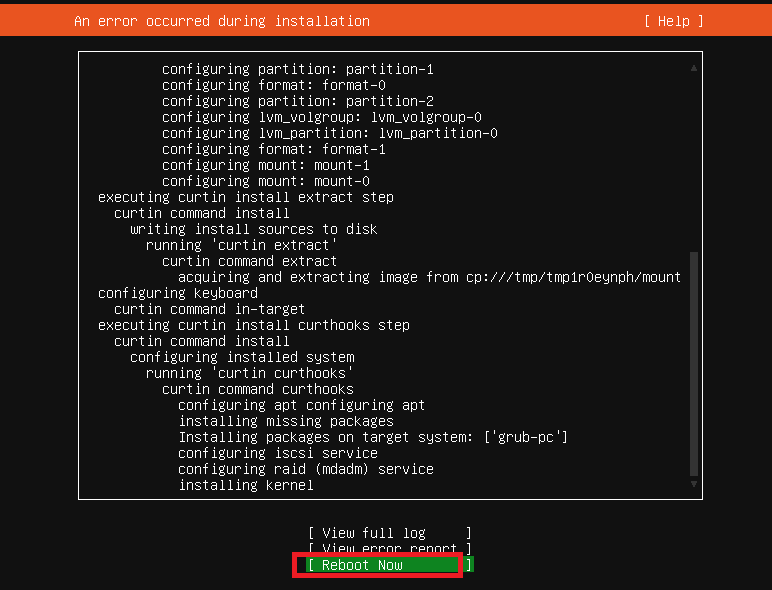
再起動するので「Reboot Now」を選択してエンターします。
再起動すればログインできるようになります。これで「ubuntu server」のインストール手順は以上です。
ubuntu serverにSSHできるか確認

では先程インストールしたubuntu serverにSSHできるか確認してみます。
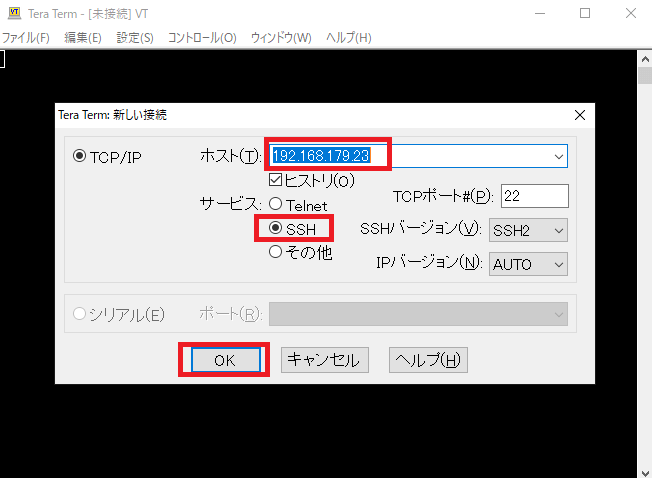
「Tera term」でubuntu serverのIPを指定してSSHしてみます。
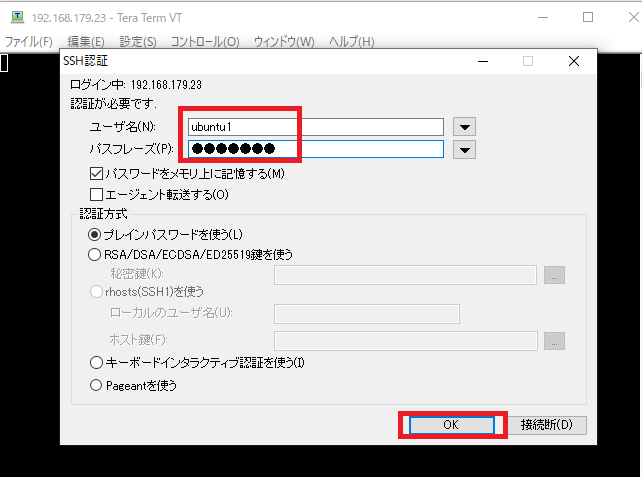
6.プロファイルを設定で指定したユーザー名とパスワードを入力して「OK」をクリックします。
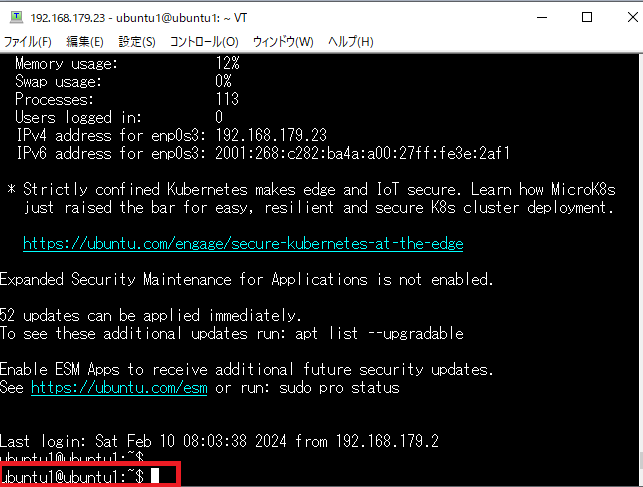
きちんとSSH接続できています。